Images
The "Images" tab allows you to upload, view, and manage all the visual assets associated with your property, ensuring it's presented attractively to potential guests.
Key Features
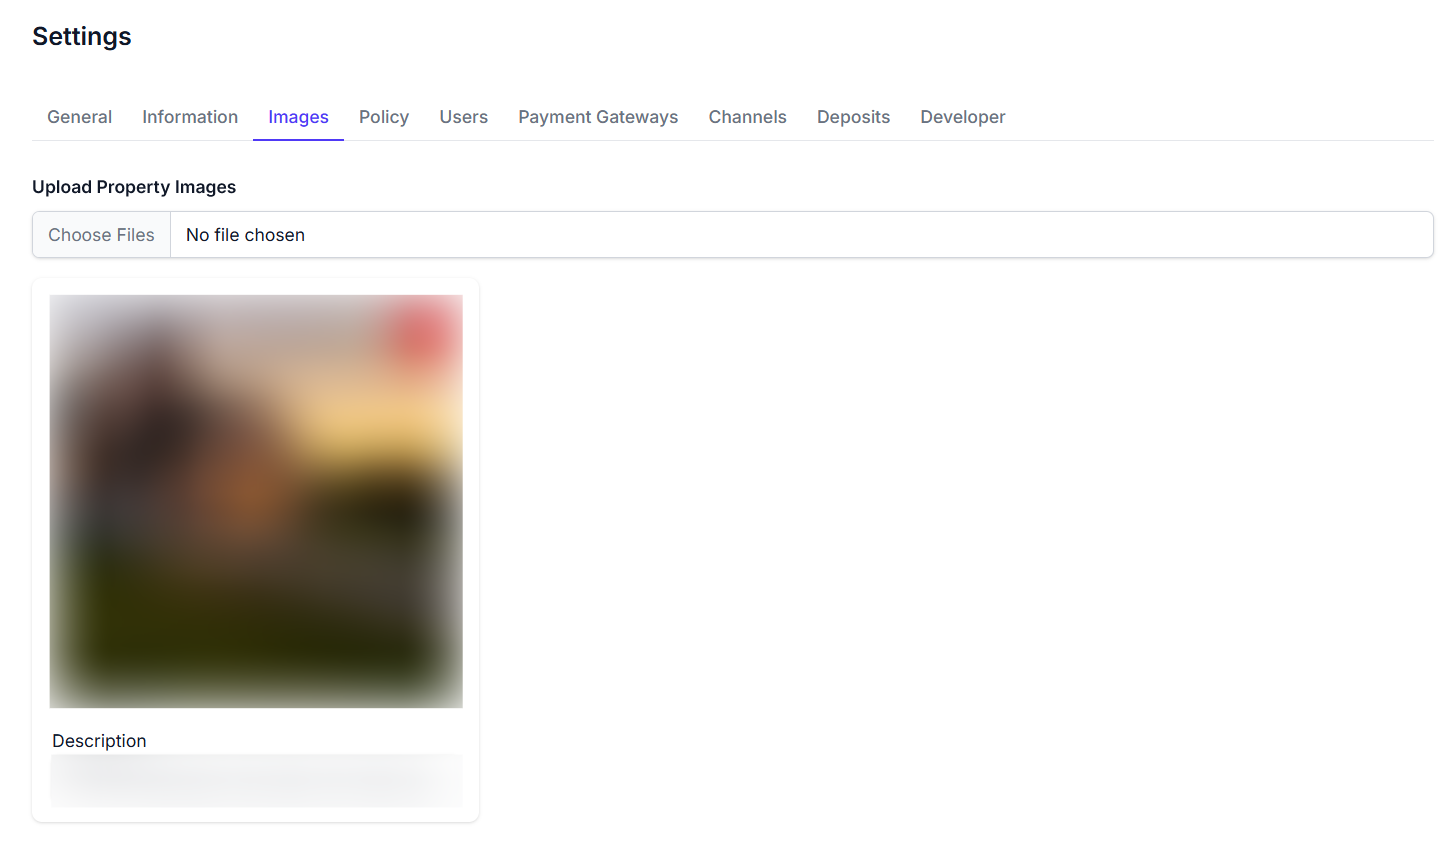
- Upload Property Images Section: This area is for adding new photos of your property.
- Choose Files Button: A button that opens your file browser, allowing you to select images from your computer to upload.
- File Chosen Indicator: Displays the name of the file(s) currently selected for upload, or
No file chosenif none are selected.
- Property Images Section: This section displays all currently uploaded images for your property.
- Image Thumbnails: Each uploaded image is displayed as a clickable thumbnail.
- Remove Image Icon: A red "X" icon located at the top-right corner of each image thumbnail, allowing you to delete that specific image from your property's gallery.
- Description Field (per image): A text field below each image thumbnail where you can add a descriptive caption for that particular image.
How to Use
- Navigate to the "Settings" section and select the "Images" tab.
- To add new images:
- Click the Choose Files Button.
- Select the desired image file(s) from your computer.
- (Implied action: The selected files will likely begin uploading automatically or require a separate 'Upload' button click not visible in the screenshot).
- To manage existing images:
- Review the Property Images Section to see all uploaded photos.
- To remove an image, click the red Remove Image Icon on the top-right of its thumbnail.
- To add a description to an image, type directly into the Description Field below it. (Implied action: Changes to descriptions may require a 'Save' button at the bottom of the page, not shown in screenshot, or save automatically).